Posted by JTSF at Monday, June 24, 2013
Read our previous post
Part 3
Continuation from Part 2.
*Warning: All of 2.1 will be packed with pictures, bandwidth intensive.
*Click to enlarge
For the enclosure U-NAS NSC-400, a normal PSU is installed at the position as the picture below.
Back to my assembly, the choice to pick a PicoPSU is a wise one. Without a normal PSU taking up space inside the enclosure, there are plenty of free space released. I can install another 2x 3.5" HDDs (without hot-swap) to scale to 6 HDDs in total. This is making the best out of available resources. =)
SATA backplane
Mount the motherboard rear cover.
Going in...
SATAs, USB, front connectors LEDs
CPU fan, enclosure 120mm fan
Motherboard erected! Now, where is fatherboard?
Two screws below to secure motherboard
Two screws above to secure motherboard
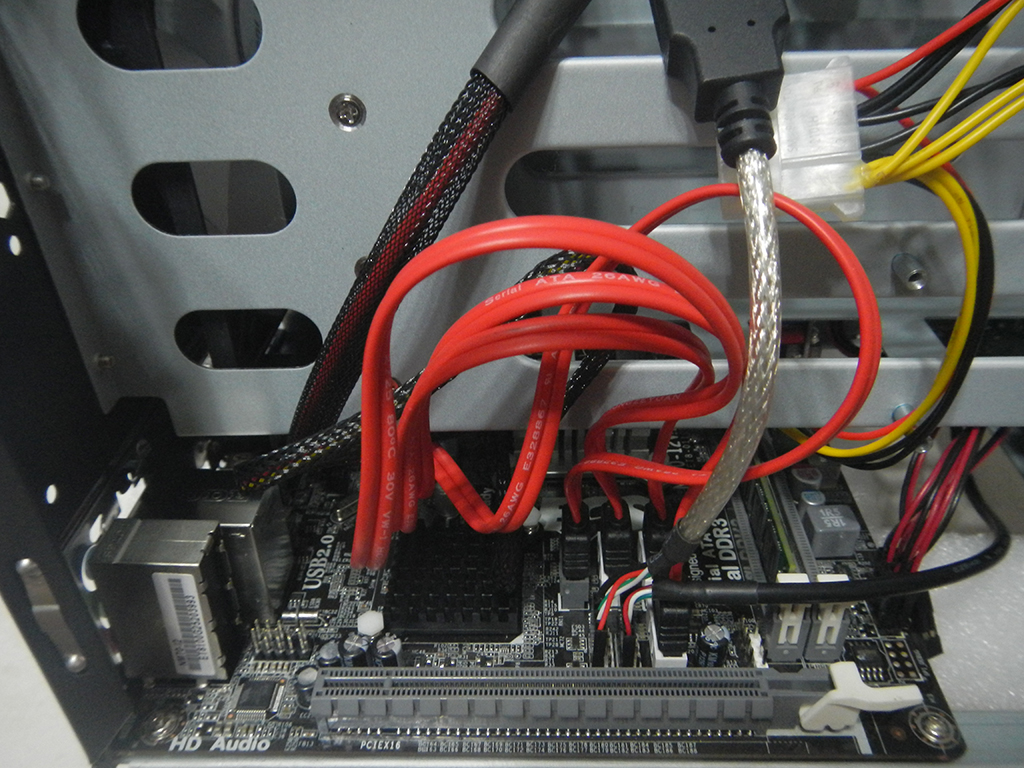
Messy cables...
Tight spaces between the motherboard and enclosure structure.
Not too much allowance but most importantly, the PCI express slot is not blocked.
I have so much free space for cable management. =) This will be a more challenging task if a normal PSU is used.
"Tail" of the PicoPSU. Meow~
The next post will be the finale of NAS assembly.


Hi! I am thinking to buy a Celeron G1610 for UNAS-N400 but not sure if the original heat sink and fan are too high to be fitted-in. Do you have any information about max height of heat sink can be installed in the case? Thanks.
ReplyDeleteThe guideline given is the heatsink should not exceed more than 4cm
ReplyDeletehey ! what type of pico psu would i need if i were to have 4 hdds ? i mean what all and how many connectors should the pico psu have ? Thanks !
ReplyDeleteYou can opt for the PicoPSU which I've used in my project. The number of connectors the PicoPSU have is not critical, you can always daisy chain a couple of SATA connectors base on your needs. The key is the power capability of the PicoPSU, make sure it can support the load of your NAS including the HDD. Refer to the maximum power consumption used here: http://diy-nas.blogspot.sg/2013/05/133-power-supply-selection.html
Delete